


Two quotes and typographic styles that inspired the project.
When I originally set out to create a piece that incorporated both glass and wood, I had my heart set on an old vanity with the mirror set in between two sets of drawers. Unfortunately that became rather hard to come by. Instead I happened upon this unique mirror at Marshall's that combines both wood and glass elements! It was the perfect solution to my end of semester budget (aka mom's wallet).

Thanks to my graphic design background I have strong draw to typography and the infinite ways to arrange letters. For this piece I wanted to play with a mix of type faces, scale, and decorative elements. I was inspired by handwritten type featured in the examples below.


After pouring over Pinterest boards I decided to mix three font faces and design the quote to fit into the half circles of the mirror. Now that I have completed the project I would have altered the smaller words to make them bigger. They made exacto-ing very hard and tedious and don't appear as sharp or as clean as the larger set words.

Type Faces: Rockwell, Silverfake, Lavanderia

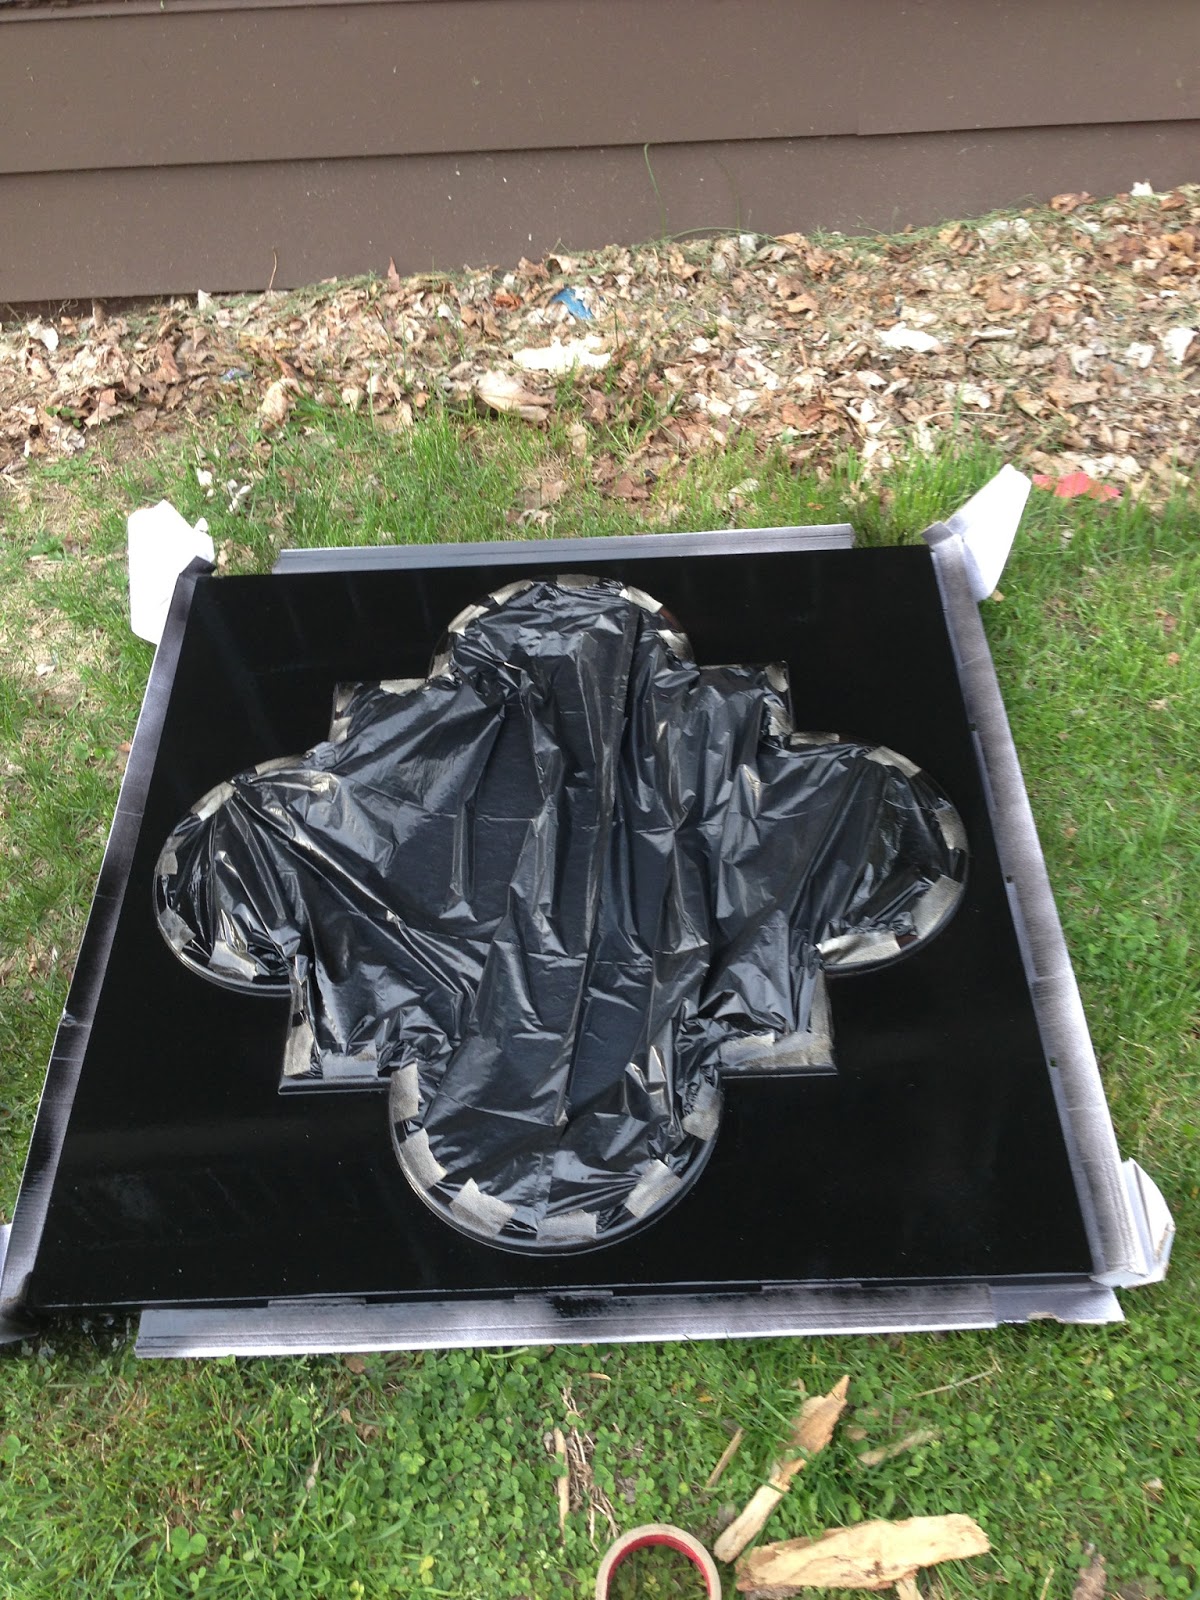
Now it's time to get our hands dirty! I obtained the rest of my supplies. I went with a chalk board spray paint which provided a great, even finish. It doesn't quite look like a chalkboard yet, although my roommate did fill me in on a little trick that I have yet to try. Hold the chalk sideways and rub it all over the surface. Then erase. It should provide that dusty look and allow the chalk to appear brighter. As far as the etching went, I actually chose to use a frosted glass paint. The etching material was going to be far more expensive and I had already spent a lot of money on the mirror. Besides unlike etching material, paint I knew how to use! Finally I picked up some contact paper and a super duty exacto knife to make the stencils.

The first step was to paint the frame of the mirror. I started with the chalkboard paint considering it was a spray paint and I would have the least amount of control while using it. I tape a black trash bag over the glass and got to work. I applied two coats and they each dried within 15 minutes.
Next I taped all around the raised frame with little pieces of painters tape. It was tedious work but it was worth it. I didn't tape on the glass but chose to paint with a careful hand instead. The little paint I dripped on the glass was easily removed with a couple light scratches from my exacto knife. You'll recognize the yellow/green if you have read my bedroom makeover series at info.californiapaints.com!

Now for the tricky part, making the stencils. After adjusting the measurements of the quotes I designed I printed them out. I taped them to a piece of contact paper and careful cut out each letter with an exacto knife. This scores the contact paper but try to keep all the pieces in tact. Take it from me, losing the negative part of the 'O' can be a real drag. I only did it twice! After the stencil was complete I peeled the back of paper off and placed the sticky top layer to the mirror. Again I tryied to keep it all intact. This helps keep all those negative areas of letters in their correct place. Next it was time to remove the letter and shapes. Sometimes they needed more exacto-ing. Don't worry about ruining the glass by cutting on it. It's hard to scratch and it's getting covered with paint. To paint use a sponge brush. Try to keep all the strokes in the same direction. I tried to get two quick coats down but a word of warning. Don't let it dry. You'll have to exacto all the letters out AGAIN! I learned it the hard way. If you remove the stencil a few minutes after you a satisfied with the paint job the finish will be much nicer. Wait for it dry and then scratch off any imperfections with your knife and enjoy!


No comments:
Post a Comment